
Create this gorgeous Thai dessert pairing fresh, tangy mango and creamy coconut with only a few simple ingredients!
Mango season has finally arrived! So you bought an entire box of mangoes and you want to polish them off before they all go bad. Why not serve this traditional Thai mango sticky rice at your next dinner party or summer lunch? This treat is creamy, sweet, and VEGAN! It’s perfect to enjoy after a flavourful meal since it is not too rich and contains an element of freshness from the mango.
Mangoes, the sweetest and tastiest summer fruit
Mangoes have always been my favourite fruit since I was a child. I was always eager to eat the ‘seed’ every time we cut one open for a snack. When perfectly ripe, they are juicy, sweet, and slightly tart. Definitely one of my favourite elements of summer.
My first time trying mango sticky rice…
I tried mango sticky rice for the first time at a local Thai restaurant called Unchai. This restaurant serves traditional Thai fare that is far removed from what you would find in your office building’s food court. This place is an absolute gem, I would highly recommend to check it out if you’re in town and looking for an authentic Thai meal!
On one summer evening, after a delicious meal at Unchai consisting of Pad Thai, Green Curry, Papaya Salad, and Plaa Goong, it was finally time for dessert. If you know me in real life, you would be familiar with the fact that I absolutely live for sweets. I will always order a dessert when dining out and keep plenty of sweets available at home when the cravings hit. It’s safe to say that desserts are high on my eating priority list.
We ordered a plate of mango sticky rice, and to be honest, I was not excited to try it. I think this is partially due to the fact that the name, if you take it literally, does not sound very appealing or exotic. Admittedly, my expectations were quite low and I didn’t know if I was going to like it. I thought I was going to receive a bowl of mangoes with sweetened rice mixed in. I was blown away with the delicate and beautiful presentation of the dessert and even more thrilled to discover that this dish pairs mango with coconut! Happy to say that I fell in love with the dessert instantly. A couple months later, we were flying off to Thailand and experienced the dessert again for the first time in it’s homeland.
Making mango sticky rice is simple and easy to do at home!
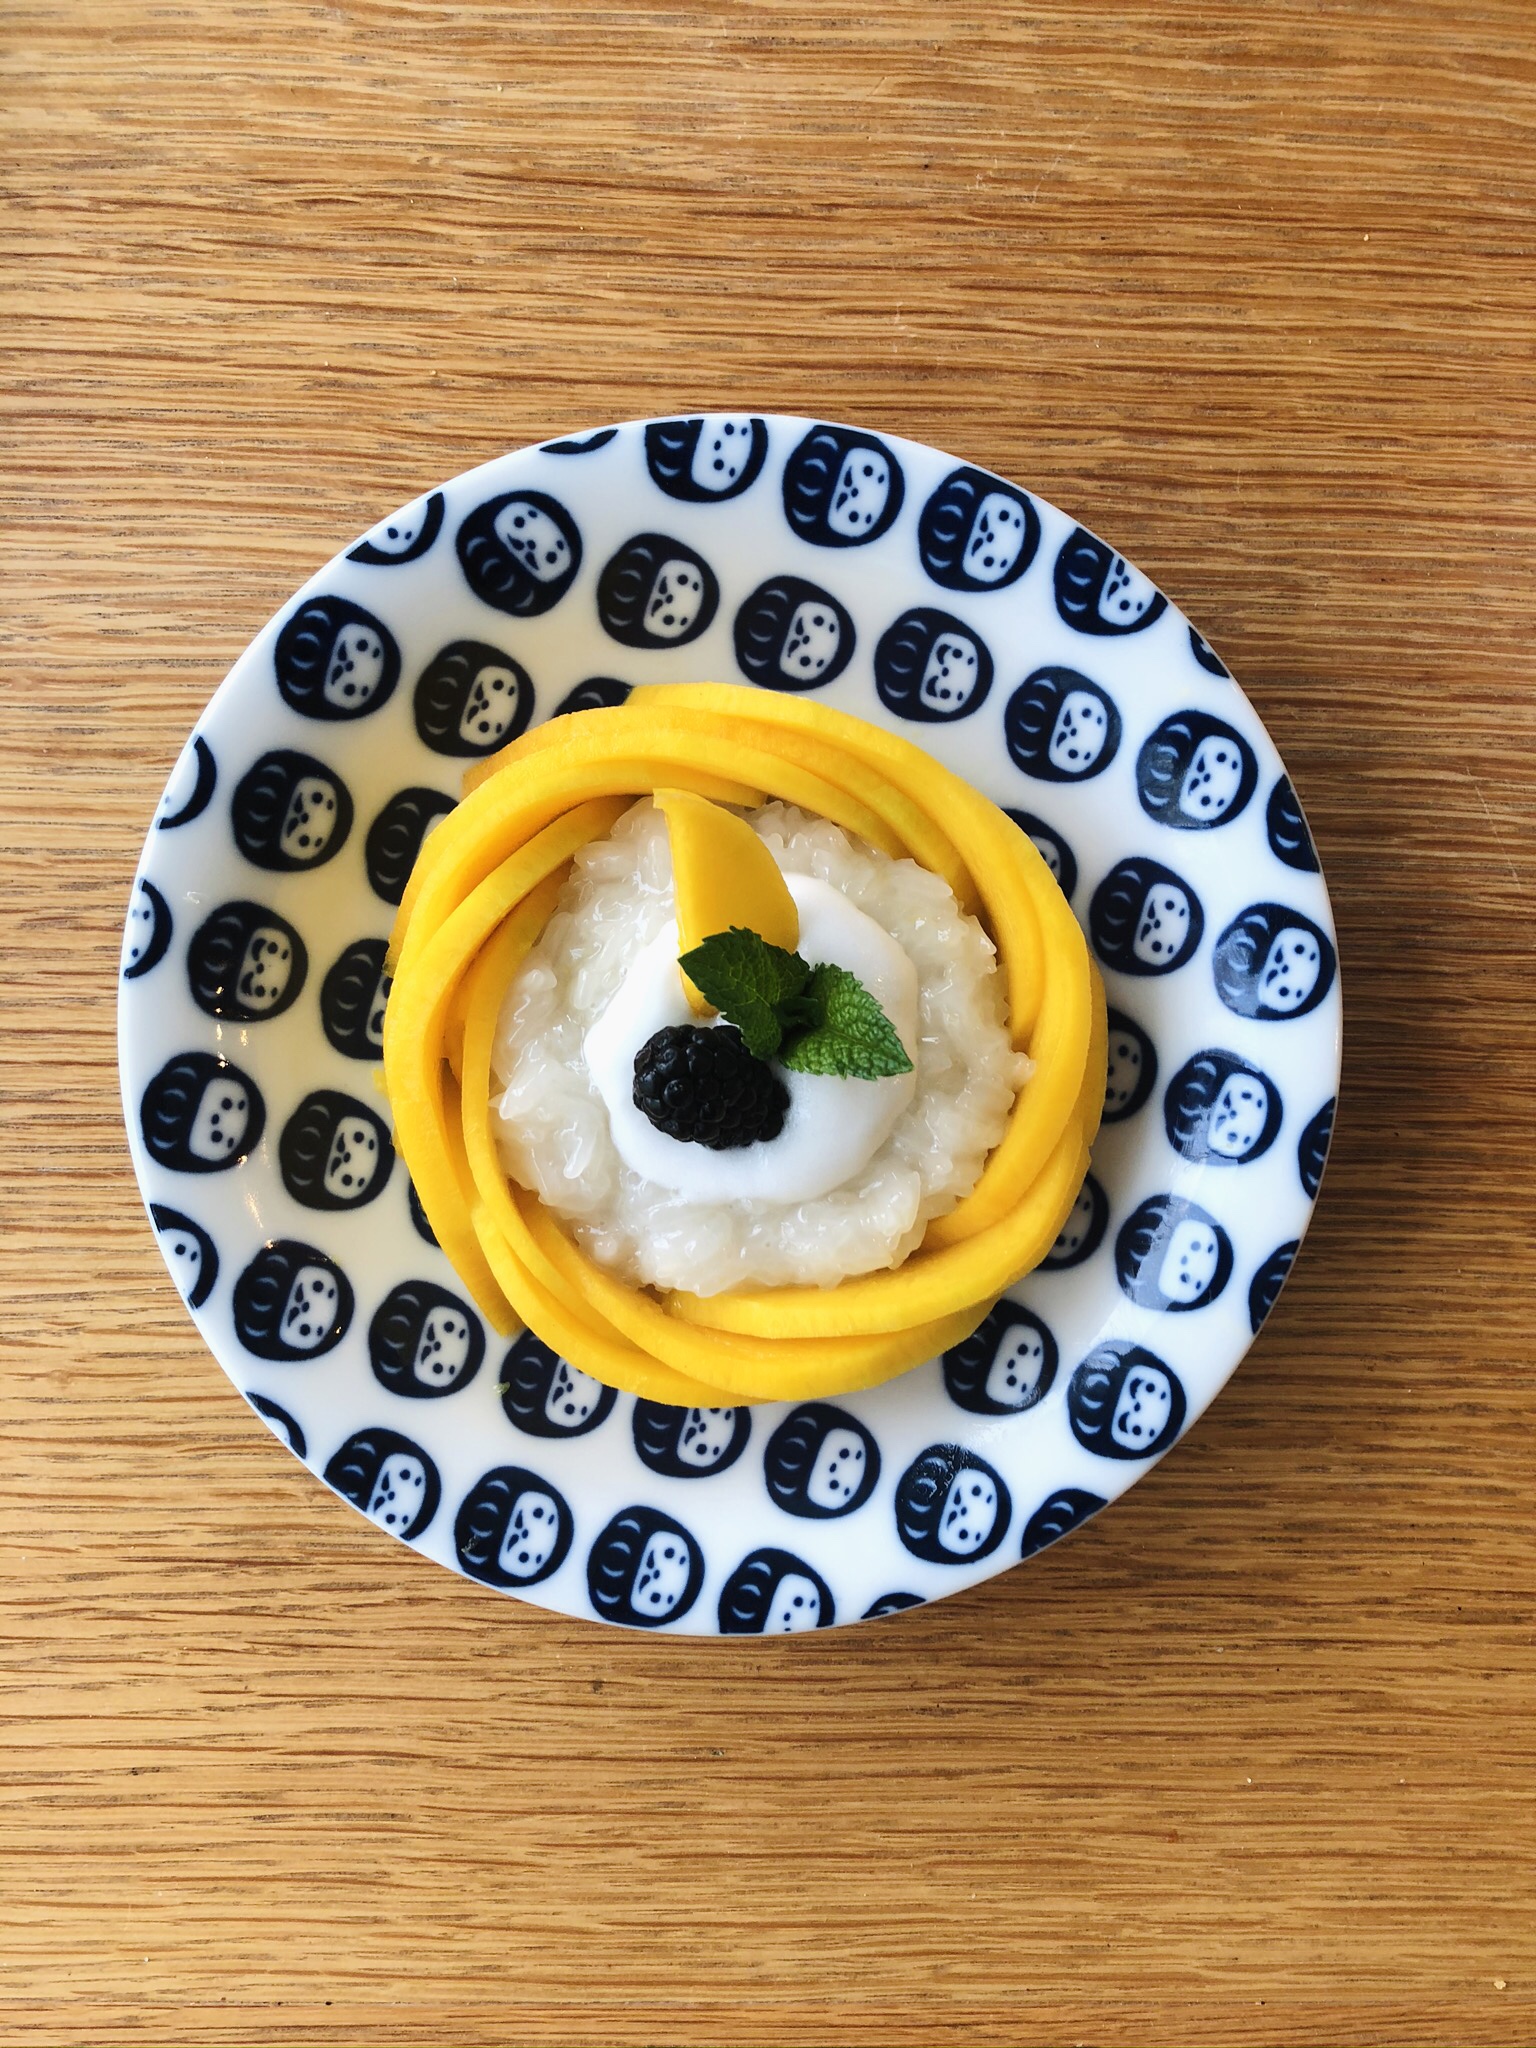
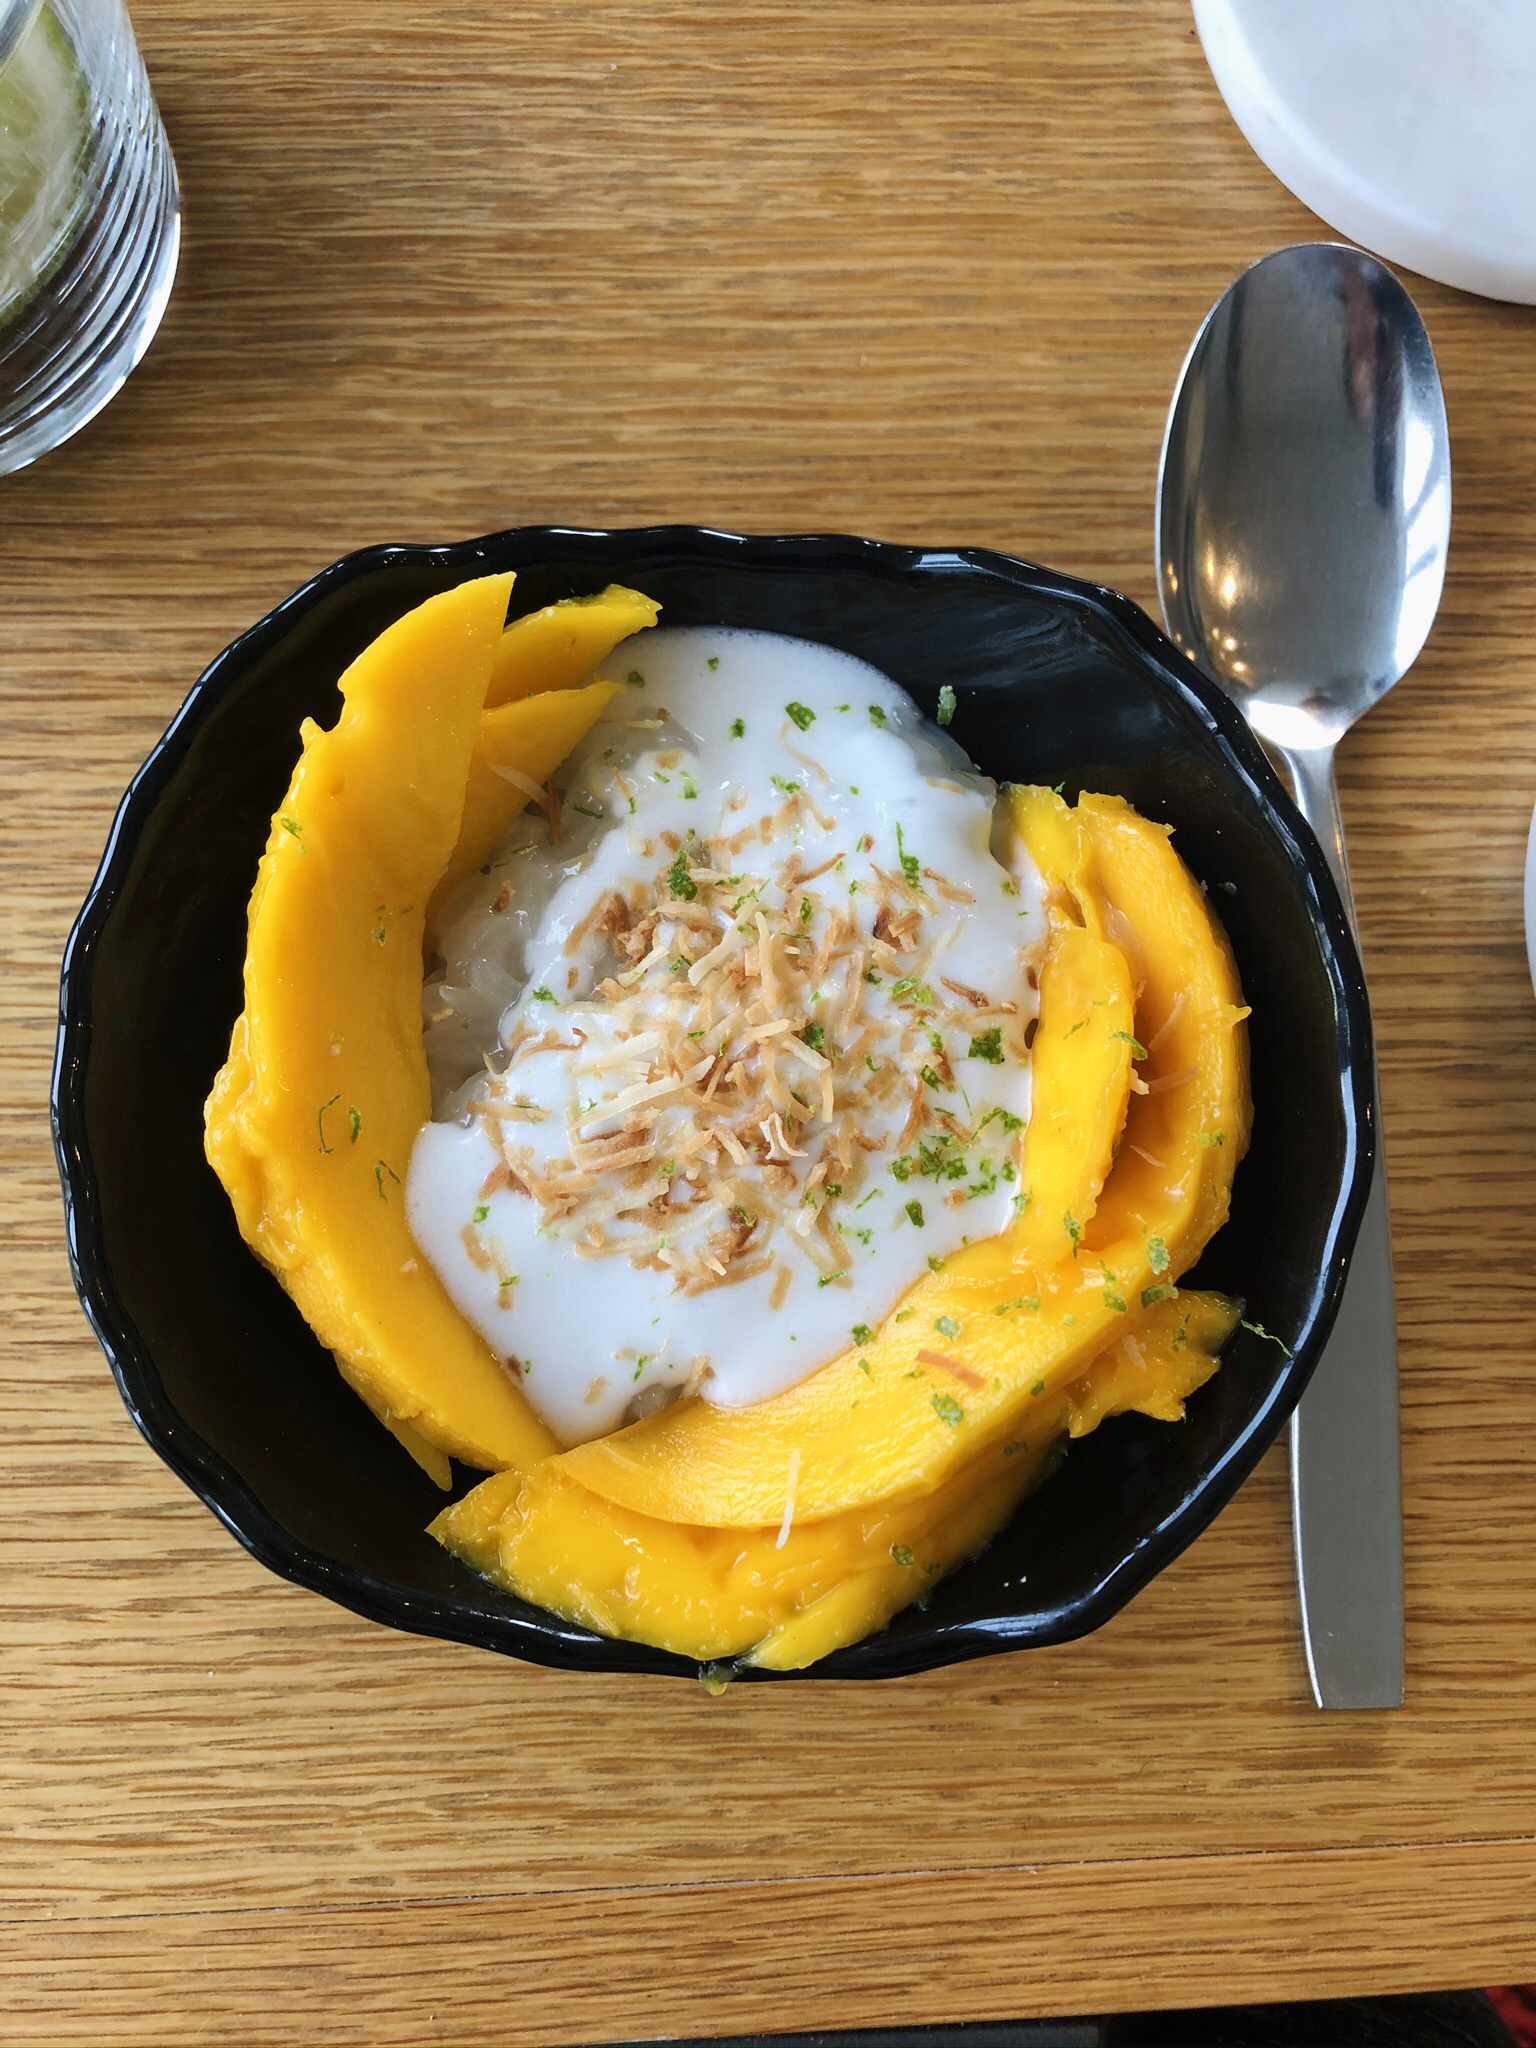
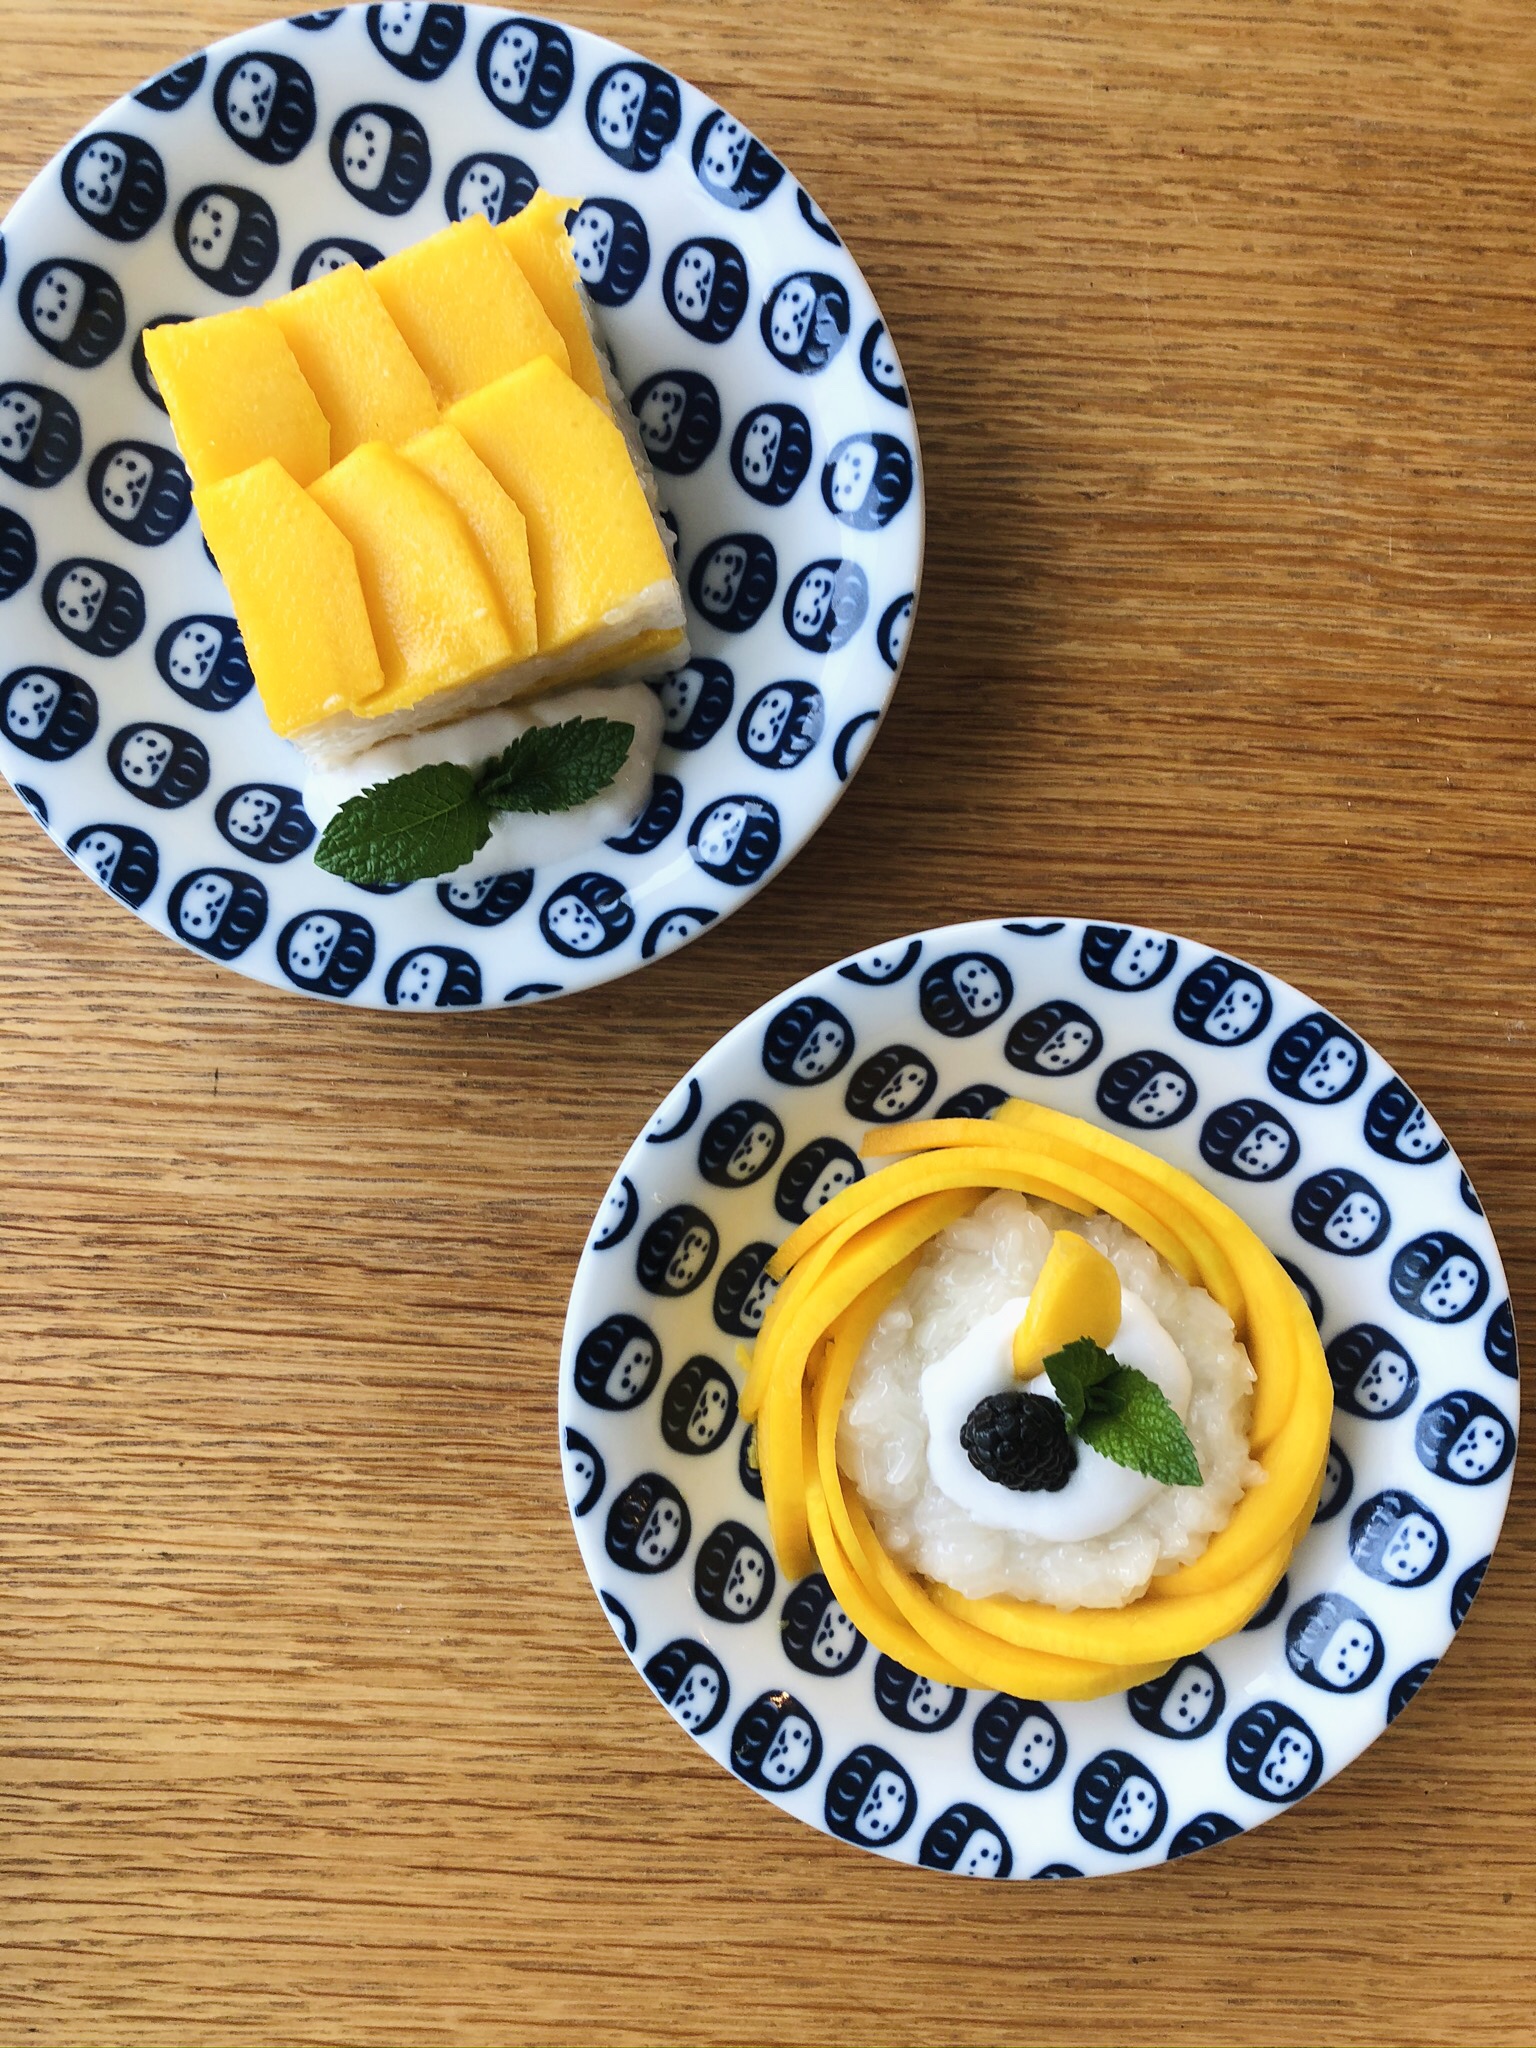
I am pleased to bring you a recreation of this traditional Thai dish. The components include fresh mangoes (of course), glutinous rice marinated in sweetened coconut milk, and lastly, a cool salted coconut milk sauce drizzled on top! I like to amp up the flavours and garnish with lime zest and toasted shredded toasted coconut for added texture. I add a sprig of mint if we are getting really fancy and going for restaurant-quality presentation.
Now it’s time for you to give this recipe a try! Don’t forget to leave a comment to let us know what you think!
Thai Mango Sticky Rice
Equipment
- InstantPot
- Steamer Basket for InstantPot
- Steaming Rack InstantPot
Ingredients
Sticky Rice
- 1 cup Thai glutinous rice
- ⅔ cup coconut milk from a can
- ½ cup sugar
- ½ tsp salt
Coconut Sauce
- ½ cup coconut milk from a can
- ⅛ tsp salt
- 1 tsp rice flour sub cornstarch
- 1 tbsp water
For Serving
- 2 mangoes medium sized, sliced or cubed
- lime zest grated, optional
- sprig of mint for garnish, optional
- toasted coconut optional
Instructions
Sticky Rice
- Soak the rice in cold tap water for 1 to 4 hours.
- Drain the rice. Line the steamer basket accessory for the InstantPot with a cheesecloth or a white cotton towel. This will keep the rice in one place. Place the steamer basket on top of the steaming rack inside of your InstantPot. Add 1 -2 cups of water to the InstantPot, making sure that the water does not reach the rice. There should be about 1 cm of space between the water and rice.
- Pressure cook on high for 12 minutes and set to natural release for 12 minutes.
- Add the coconut milk, sugar, and salt to a saucepan and combine over medium heat until the sugar is completely dissolved. Keep this mixture warm until the rice is ready.
- Remove the rice from the InstantPot. Some of the grains will get stuck to the cheesecloth so take some time to remove as much as you can.
- Transfer the cooked rice into a medium sized bowl and add the coconut mixture on top, making sure that the rice is evenly coated. Let it sit for 20 minutes. After 20 minutes, use a rubber spatula to break apart the lumps of rice, and turn the mixture to evenly coat the rice again. Set aside for another 20 minutes before assembling.
Coconut Sauce
- Combine the rice flour (or cornstarch) with the water and stir until no longer lump.
- Add the flour mixture to the coconut milk and salt in a small saucepan and thicken over medium heat. Taste test to ensure the salt level is at your preference. ¼
- Allow the mixture to cool before serving.
Assembly
- Add a few heaping spoonfuls of the sticky rice to your serving dish. You can shape into a square or smooth off the top so it is round.
- Arrange your sliced or diced mangoes around the rice. Have some fun getting creative here!
- Pour a few spoonfuls of coconut sauce over top. Garnish with lime zest, a sprig of mint, and toasted coconut. Enjoy!
Notes
- This recipe works best using full fat coconut milk from a can. Do not use boxed coconut milk as this will not have enough fat.
- We recommend soaking the rice for at least 1 hour. If you have the time, you can soak up to 4 hours.
- Some people may prefer a saltier coconut sauce. I found that a quarter teaspoon was far too salty for us, so I reduced to an eighth.
- This recipe calls for Thai glutinous rice which can be found at your local Asian market.

Leave a Reply